
Chocolate Pine Cones Recipe
A simple, no-cook Christmas-themed dessert shaped like pine cones. Easy to make with kids!
Servings:
8
A simple, no-cook Christmas-themed dessert shaped like pine cones. Easy to make with kids!
Place all the chocolate biscuits in a food processor or grinder jar and pulse until they form a fine powder.
Transfer the powdered biscuits to a large mixing bowl.
Add the chocolate syrup and mix well with a spoon or spatula until evenly combined.
Gradually add a very small amount of milk (start with 1 tbsp) and mix to bring the mixture together into a firm dough. Do not knead the dough-just press it together.
Add more milk only if the mixture is too dry and crumbly; the dough should be tight and not sticky.
Divide the dough into 6-8 equal portions. Take one portion and roll it between your palms into a conical shape (like a pine cone base, about 8-10 cm long).
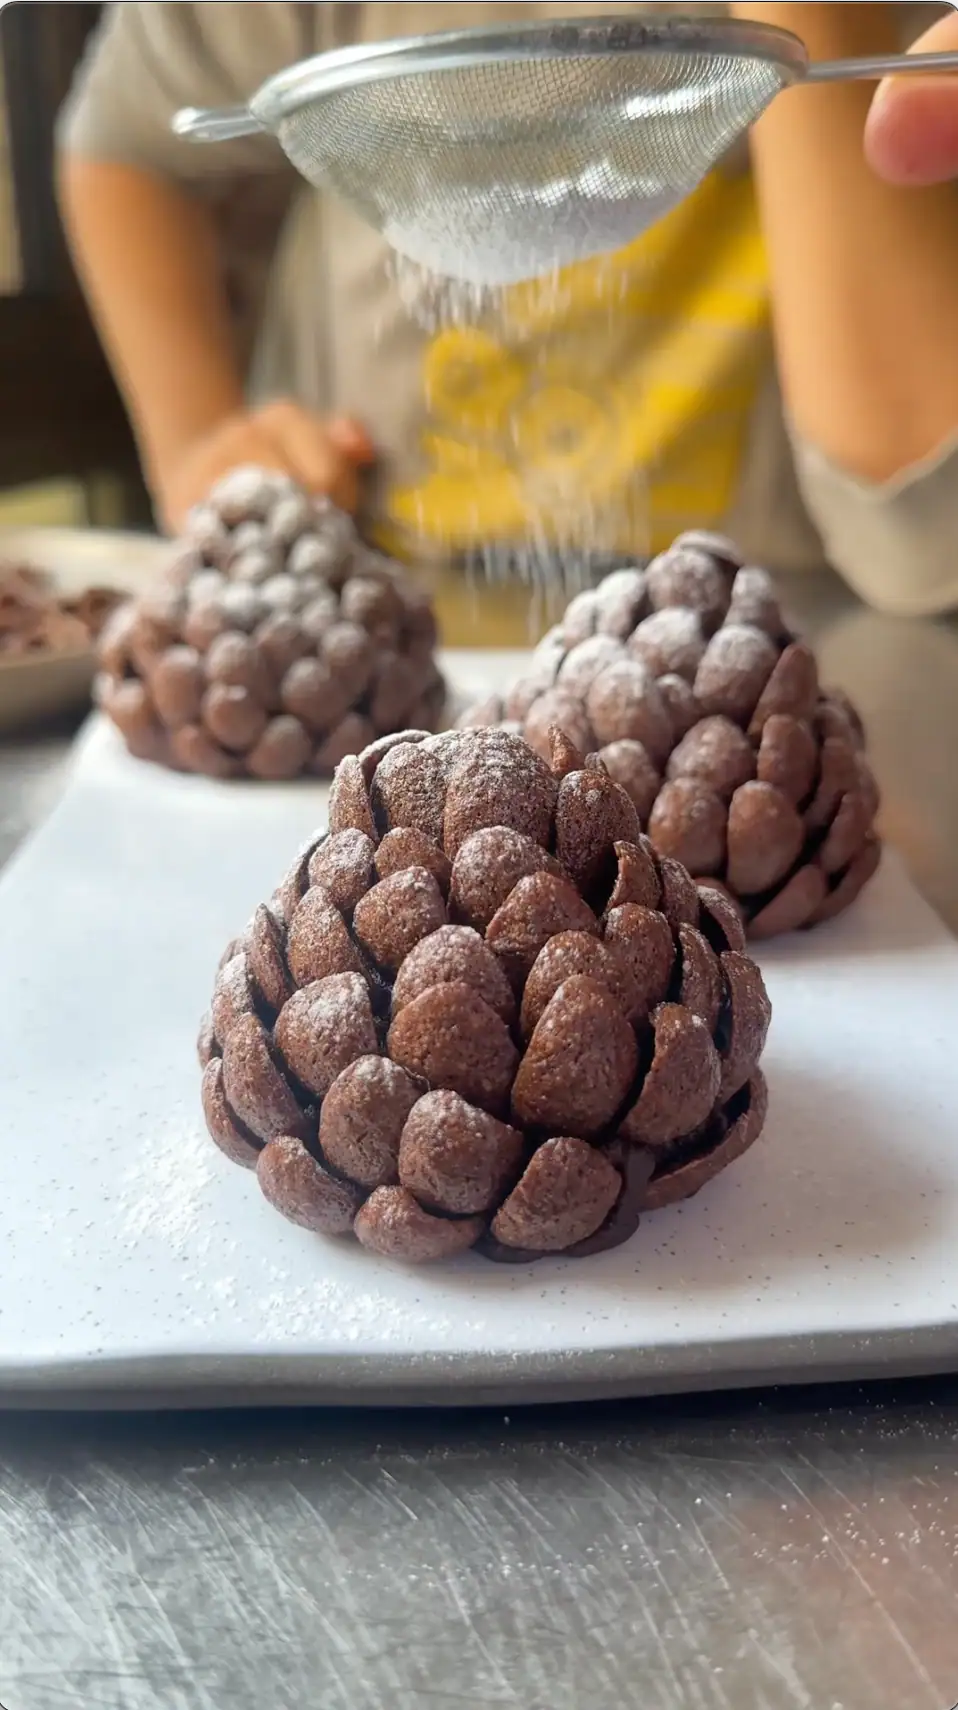
Starting from the base, gently press the chocolate cereal balls or puffs all around the cone, overlapping them slightly to mimic pine cone scales. Continue up to the tip.
Place the shaped pine cones on a plate or tray and refrigerate for 15-20 minutes, or until firm.
Before serving, dust generously with powdered sugar to resemble snow.